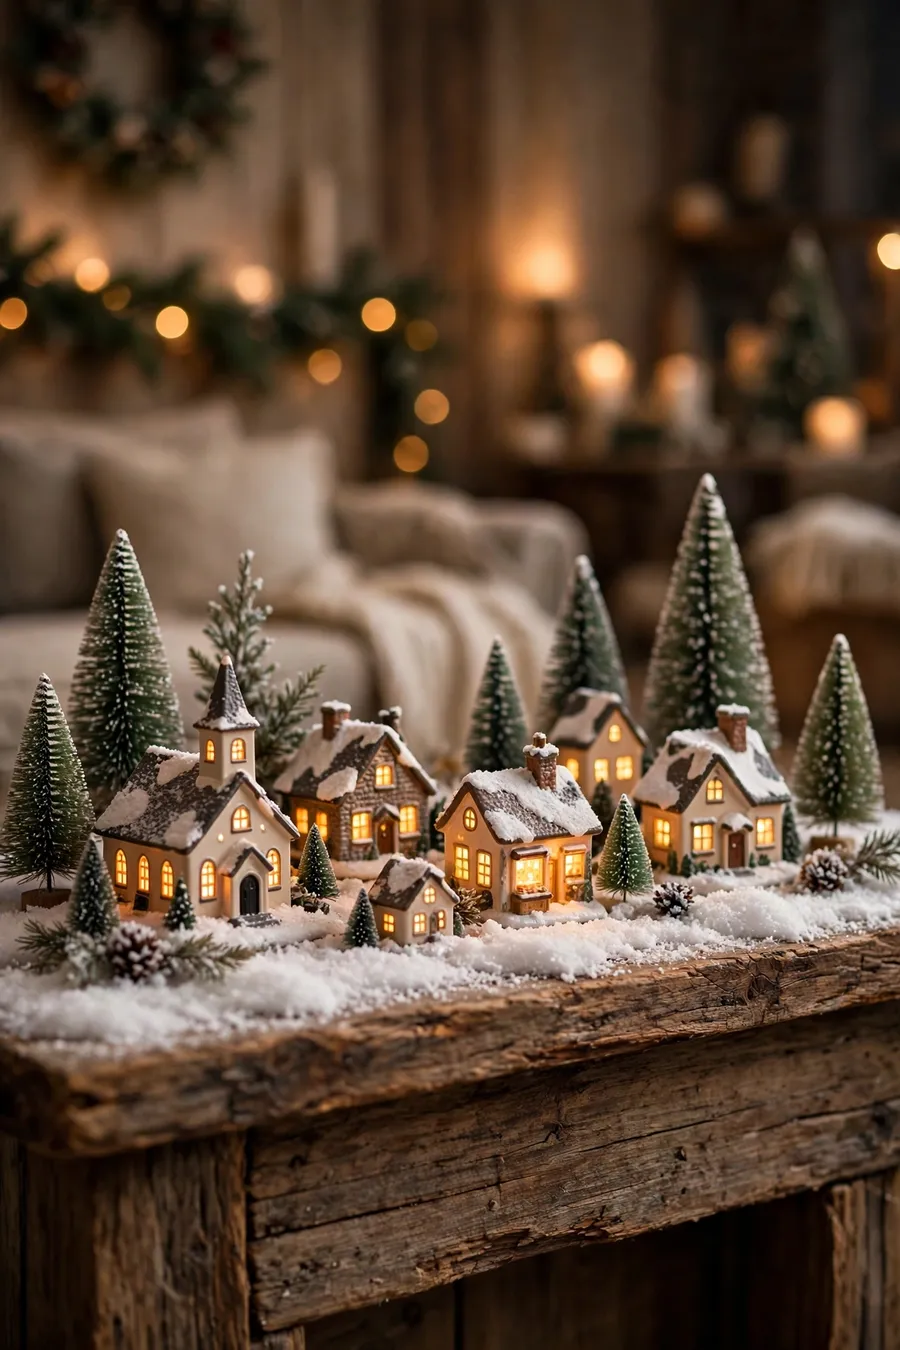
10 Magical Christmas Village Display Ideas
A great Christmas village display comes down to three things: tiered levels so every house gets seen, fluffy snow that hides cords and bases, and warm LED light that makes the windows glow. Set it on a mantel, sideboard, or console table, layer cotton batting and bottle-brush trees, and keep the layout loose — the 10 ideas below show how.
There's something about a lit-up Christmas village that stops people mid-room. Maybe it's nostalgia — Department 56 towns have been glowing on grandparents' mantels for decades. Maybe it's just that tiny glowing windows in a dark room look like magic. Either way, the difference between a village that looks like a dusty row of ceramic houses and one that looks like a storybook town is all in the display.
I've been setting up villages for years, and the tricks below are the ones I actually use — no fancy props, no $200 platforms. Most of these cost under $20 or use things you already own.
1. Tiered Mantel Village Ideas
The single biggest upgrade: stop lining houses up in one flat row. Stack hardcover books, wooden boxes, or overturned baskets under a white cotton cloth to build two or three stepped levels across the mantel. Put the tallest houses and the church in the back, shorter cottages up front. Suddenly every house is visible, and the whole thing reads as a town instead of a shelf of knickknacks.
2. Cotton Snow Blanket Ideas
Cotton batting — the quilt-filling kind, about $8 for a big bag at a craft store — is the secret weapon. Unroll it thick over your levels, tucking it around each house base so it looks like drifts. It hides cords, evens out wobbly stacks, and gives you that seamless snowy landscape. Pull some sections thinner in the "streets" and pile it high behind the houses for a hillside look.

Pro tip: For a crisp finish, sprinkle fake snow flakes over the cotton — the kind sold in shaker bags for about $5. It catches the light from the windows and sells the whole winter illusion.
3. LED Window Glow Ideas
A village without lights is just a village. LED tea lights ($6–$10 for a 12-pack) tucked inside each ceramic house make every window glow warm. Add a strand of battery-operated micro fairy lights (usually $8, with a built-in 6-hour timer) draped under the cotton along the back so the whole scene glows from behind. Set everything on timers and the village lights itself every evening — no one has to remember to flip a switch.
4. Mirror Reflector Ideas
Lean a rectangular mirror or a frameless mirror tile against the wall behind the village, or lay one flat under the scene. It bounces all that warm window light back into the room and doubles the visual glow — the whole display looks twice as bright and twice as deep. A 12x12 mirror tile costs about $4 and also works beautifully as a frozen pond (more on that next).
5. Bottle-Brush Tree Filler Ideas
Here's the truth: most sparse villages just need more trees. Buy a mixed bag of bottle-brush trees in 2" to 6" heights (around $12 for 24 pieces) and cluster them everywhere — between houses, along the edges, in threes behind the church. Odd-numbered clusters look natural. Dust their tops with fake snow and they instantly look like miniature evergreens instead of craft-store cones.
6. Frozen Pond Vignette Ideas
This is the detail guests always ask about. Lay a small mirror or a piece of glass flat in the middle of the village, edge it with cotton so it reads as a frozen pond, and stand a couple of tiny skater figurines or a miniature bench on it. Battery lampposts beside the "ice" ($10–$15 for a set of three) light the scene at night and make the mirror shimmer. It's a five-minute addition that adds a whole story to the town.
7. Cake Stand Height Ideas
For a smaller display or a table centerpiece, build the village on cake stands and pedestals instead of a mantel. A tall white cake stand holds the church, a low wooden riser holds cottages, and the rest fills in around the base at table level. It gives you instant tiering with zero stacking — and looks stunning on a dining table or entryway console.
Budget breakdown: Cotton batting ($8) + bottle-brush tree pack ($12) + LED tea lights ($8) + fake snow ($5) + mirror tile ($4) = about $37 for a full display overhaul — and most of it is reusable year after year.
8. Sideboard Village Ideas for Small Spaces
No mantel? A sideboard or dresser top works perfectly — and honestly, a long low surface can look even better, since you get more horizontal room for streets and scenes. Keep the display shallow (12–18 inches deep) so it doesn't eat the whole surface, and hang a wreath or garland on the wall above to frame it. If the sideboard sits against a window, the daylight reflection off the snow is gorgeous by day.
9. Hidden Cord Ideas
Nothing ruins the magic faster than a visible black cord snaking across the snow. Route all wires under the cotton batting, use battery-operated lights with timers wherever possible, and position houses with back-facing plugs toward the wall. For lit houses that need real plugs, drill nothing — just run one slim power strip behind the mantel and let the cotton swallow everything else.
10. Table-Spilling Vignette Ideas
Let the village overflow its main surface. Trail the cotton snow off the mantel edge onto the hearth, or let bottle-brush trees march down a sideboard corner onto a stack of books. Extend the glow onto the table below with a few candles (real ones, safely away from cotton) or a lantern. The display stops looking like a contained exhibit and starts looking like winter showed up in your living room.
The Bottom Line
You don't need more ceramic houses — you need better display. Tier the levels, bury everything in cotton snow, light it from within with LEDs, and fill every gap with trees. Do those four things and any collection of houses, no matter how small, turns into the corner of the room everyone gathers around after dinner.
Related Ideas
Pair your glowing village with these hot cocoa bar ideas for Christmas — a cocoa station next to the village turns that corner of the room into everyone's favorite spot. Extend the garland down the wall with these Christmas staircase decor ideas, or let the tree echo the snowy theme with these flocked Christmas tree decor ideas.
Frequently Asked Questions
Where is the best place to display a Christmas village?
A mantel is the classic spot because it's at eye level, but a sideboard, entryway console, or dresser top works just as well. Pick somewhere near an outlet (or where battery lights can hide) and out of heavy foot traffic so nothing gets bumped.
What do you put under a Christmas village?
White cotton batting or rolled faux snow is the standard base — it hides cords and levels uneven surfaces. Layer it thick, add a small mirror or glass sheet as a frozen pond, and sprinkle fake snow flakes over the top for sparkle.
How do I make my Christmas village look fuller?
Fill every gap with bottle-brush trees in mixed heights, tuck in tiny figures and lampposts, and build upward with risers or cake stands. Most sparse villages just need more trees — a dozen mini trees can double the fullness.
How do you light a Christmas village safely?
Use LED tea lights or battery-operated micro fairy lights inside the houses and under the cotton snow — they stay cool and run for weeks on timers. Never use real candles near cotton batting, which catches fire easily.